Time Entry Settings
You have the ability to turn on/off the Time Entry features of the site along with customizing the email notifications when time is missing or time needs to be approved by a supervisor. To modify any of the settings, follow these steps:
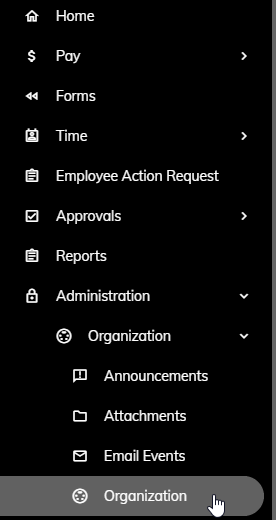
Click Administration > Organization > Organization from the left side of the screen.
Click on the Time Entry tab.

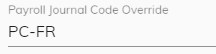
Enter a Payroll Journal Code Override if you would like to utilize a different Journal Code other than the PC Journal Code. This is helpful if you have multiple payroll databases for other entities within your organization (e.g. a fire district). Normally, this field is left blank.
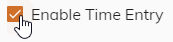
Click on the Enable Time Entry check box to provide employees with the ability to enter their time through the miPay site.
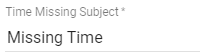
Automated emails are sent to employees when time is missing for the pay period. You can modify the subject of the email. To do this, enter the subject text into the Time Missing Subject field.
You can modify the message contents of the email in the Time Missing Email Message field.
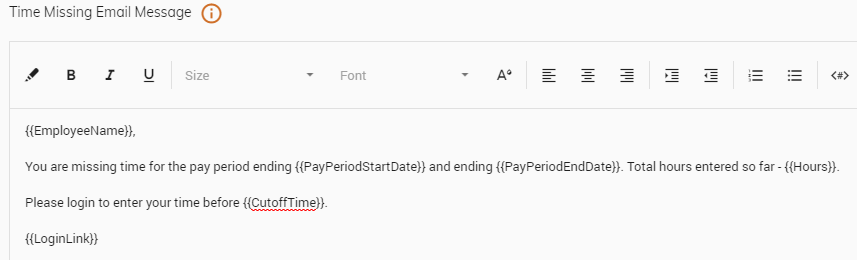
You can utilize the toolbar to further customize your message by aligning the message, changing the font size, and more. Click here to learn more about customizing your message.
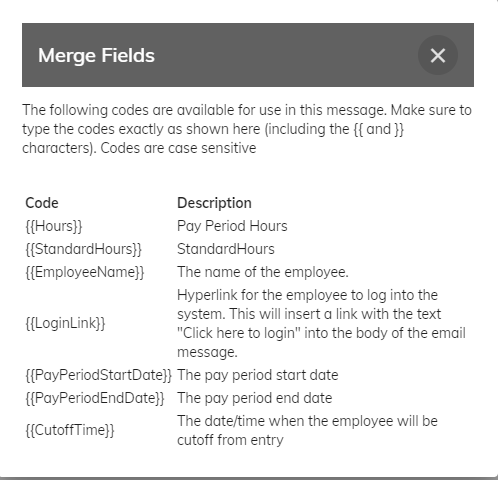
In addition, you can utilize seven (7) merge fields that are available to embed into your email message. They are {{Hours}}, {{StandardHours}}, {{EmployeeName}}, {{LoginLink}}, {{PayPeriodStartDate}}, and {{PayPeriodEndDate}}, and {{CutoffTime}}. You can click the
 button next to Time Missing Email Message to learn more. See screen shot above utilizing the {{EmployeeName}}, {{PayPeriodStartDate}}, {{PayPeriodEndDate}}, {{Hours}}, {{CutoffTime}}, and {{LoginLink}} merge fields in the body of the email.
Automated emails are sent to supervisors alerting them that they have time waiting for their approval. You can modify the subject of the email. To do this, enter the subject text into the Time Approval Missing Subject field.

You can modify the message contents of the email in the Time Approval Missing Email Message field
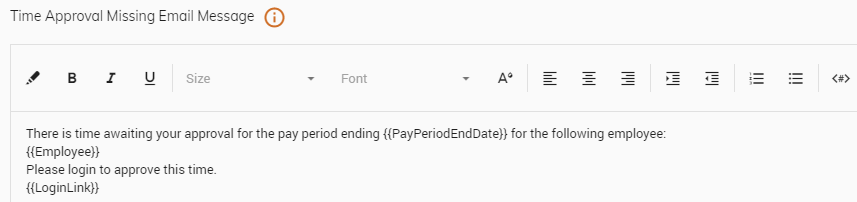
You can utilize the toolbar to further customize your message by aligning the message, changing the font size, and more. Click here to learn more about customizing your message.
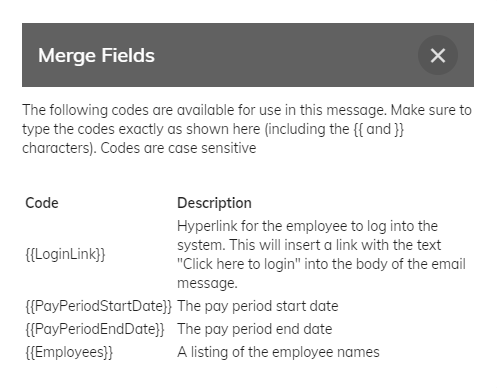
In addition, you can utilize four (4) merge fields that are available to embed into your email message. They are {{LoginLink}}, {{PayPeriodStartDate}}, {{PayPeriodEndDate}}, and {{Employees}}. You can click the
button next to Time Approval Missing Email Message to learn more. See screen shot above utilizing the {{PayPeriodEndDate}}, {{Employees}}, and {{LoginLink}} merge fields in the body of the email.
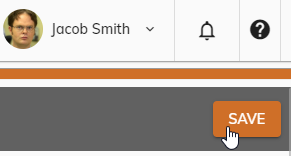
Click the Save button in the upper right.
Note: You may need to scroll to the top of the screen to see the Save button in the upper right.